Dent Magic at Home: Smarter, Safer Metal Moves

Today we dive into working with aluminum versus steel panels in at-home paintless dent repair, translating pro techniques into practical steps, tools, and mindsets you can use in a driveway. You’ll learn differences in movement, heat, leverage, glue-pulling, and finishing, with honest tips, stories, and safety guidance.

Springback and Elasticity in Practice

Expect livelier rebound on certain panels and more predictable movement on others. One surface may demand smaller, slower pushes to prevent micro-highs, while the other prefers steadier, confident strokes. Keep notes by vehicle and location, then share your observations with fellow DIYers to refine what works.

Locating Crowns and Tension Lines

Crowns carry the story of the impact. Find them by watching the reflection buckle and edges pull tight. Relieving tension early, with light taps and deliberate sequencing, prevents chasing lows across the panel and keeps every subsequent push efficient, measured, and pleasantly reversible if needed.

Lighting That Reveals Truth

Position your line board or fog light so the distortion reads clearly from multiple angles. Subtle ripples hide near body lines and edges, where geometry amplifies even tiny highs. Rotate your view frequently, log your light distance, and invite comments comparing your setup against other readers’ proven arrangements.

Heat Without Hurt

Temperature changes panel behavior and paint tolerance. Gentle warming helps movement and reduces cracking risk, but too much heat softens finishes and ruins substrates. Dial in safe ranges, verify with an infrared thermometer, and keep a patient rhythm that respects coatings, adhesives, and the metal’s changing mood.

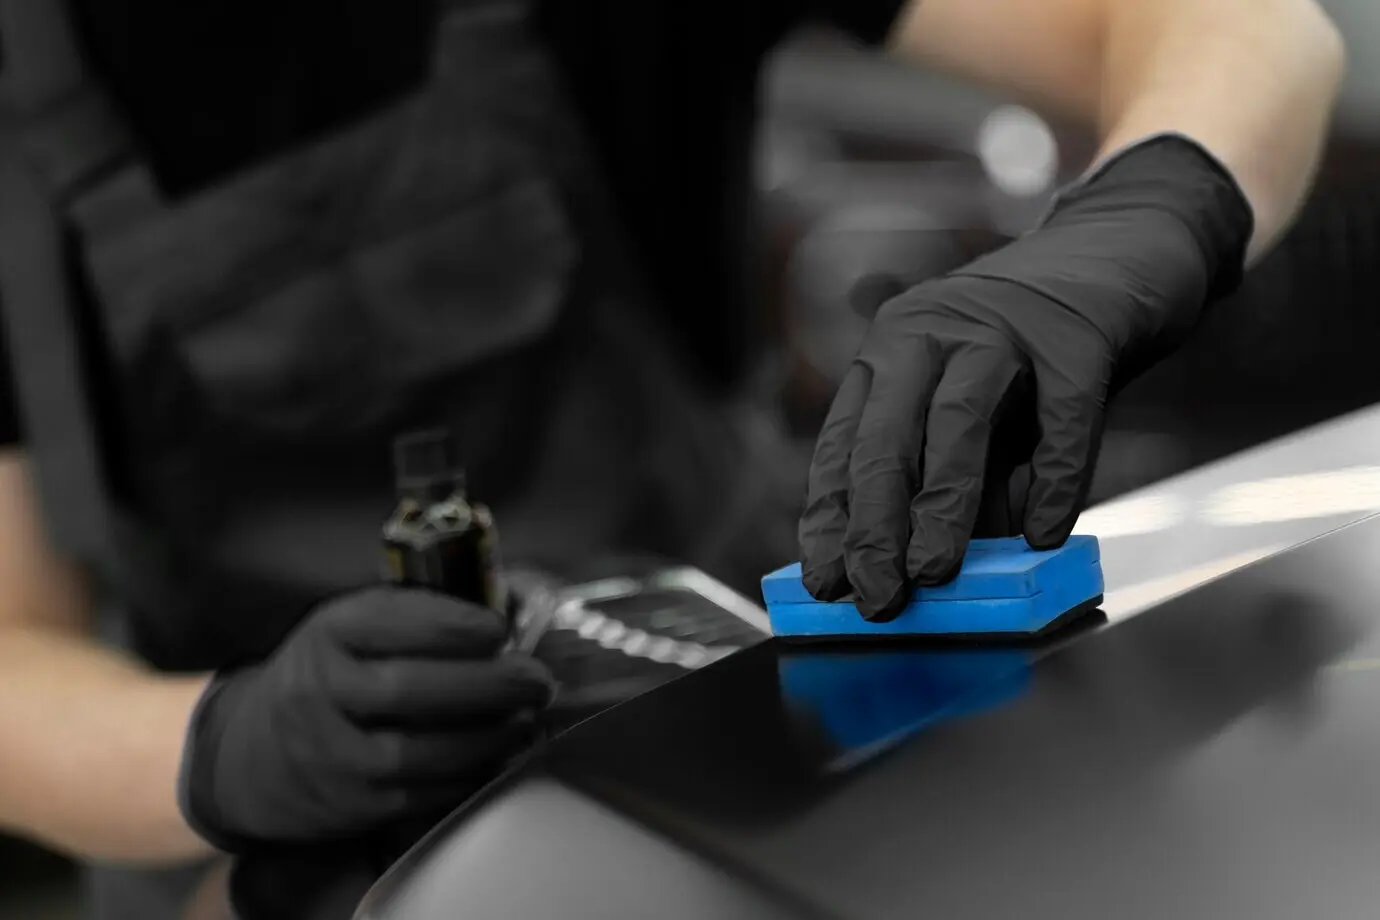
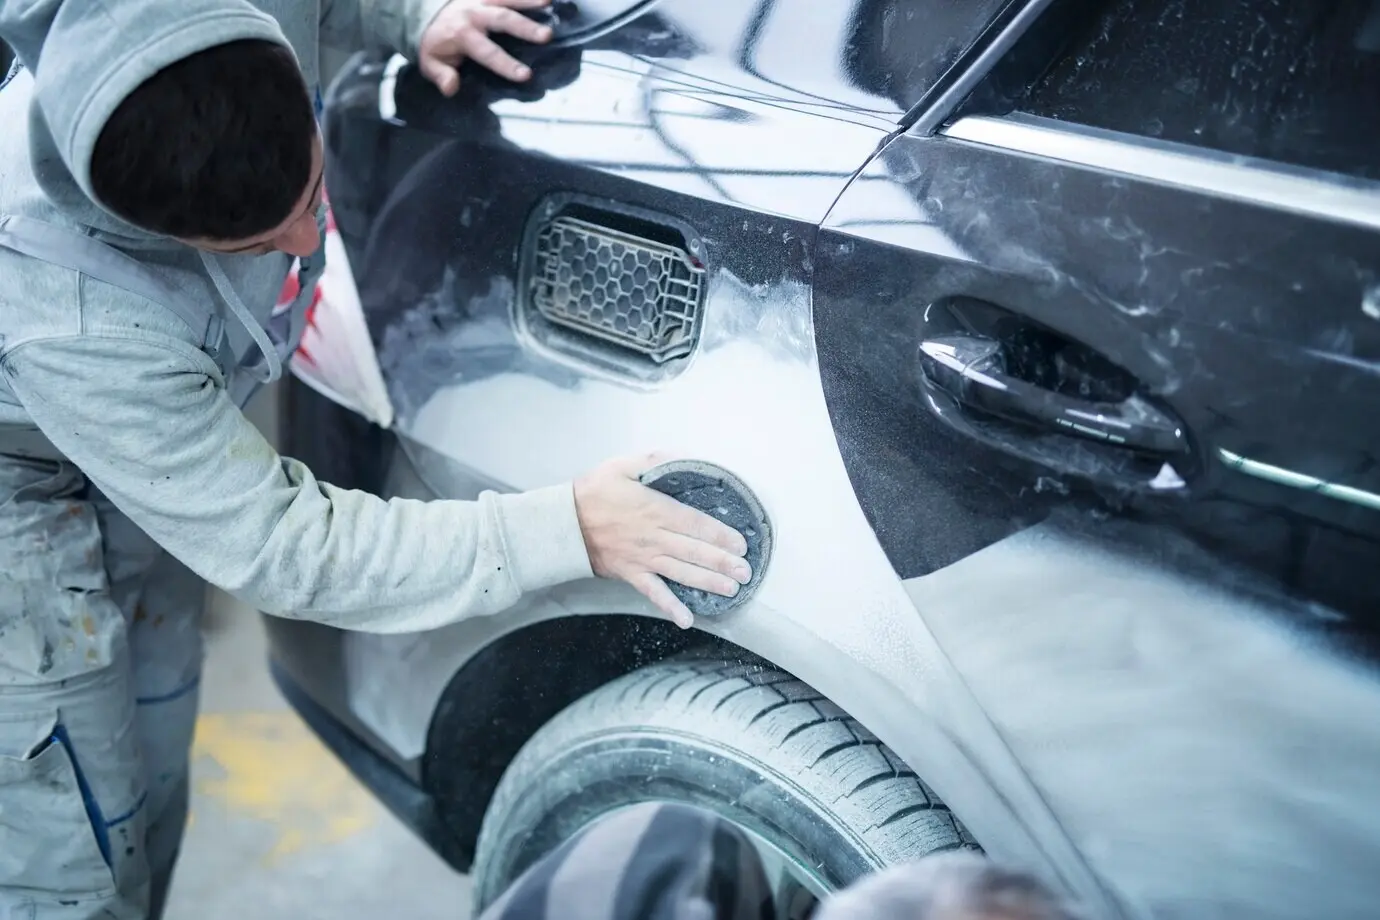
Working Smart With Temperature

Warm only enough to encourage controlled flow, especially where finishes are brittle. Sweep heat evenly, never dwelling in one spot. Keep the surface just pleasantly warm to the touch, then pause and reassess motion. Overheating multiplies problems later, so record temps and share your best ranges below.

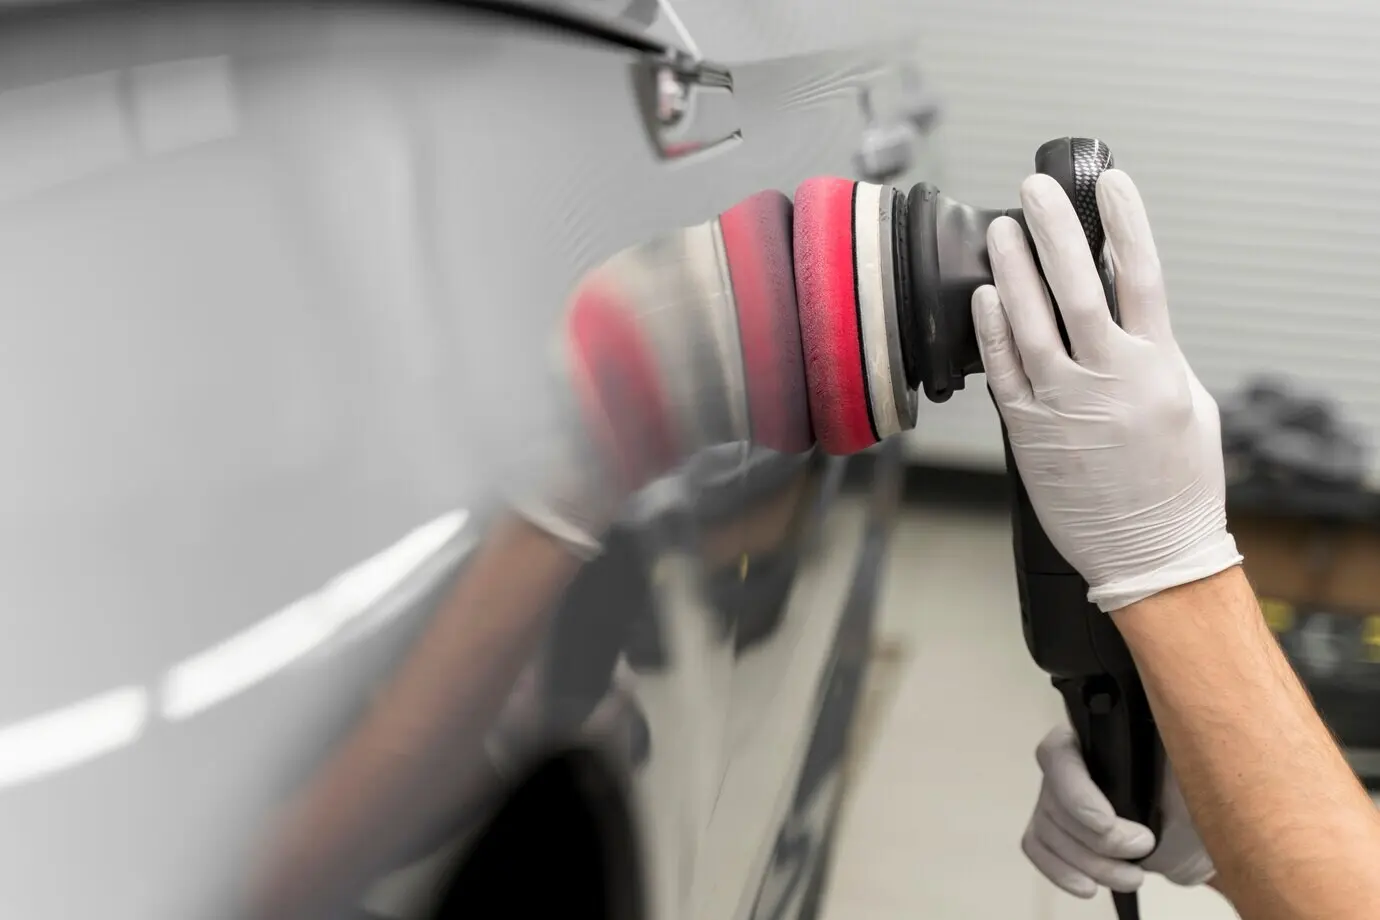
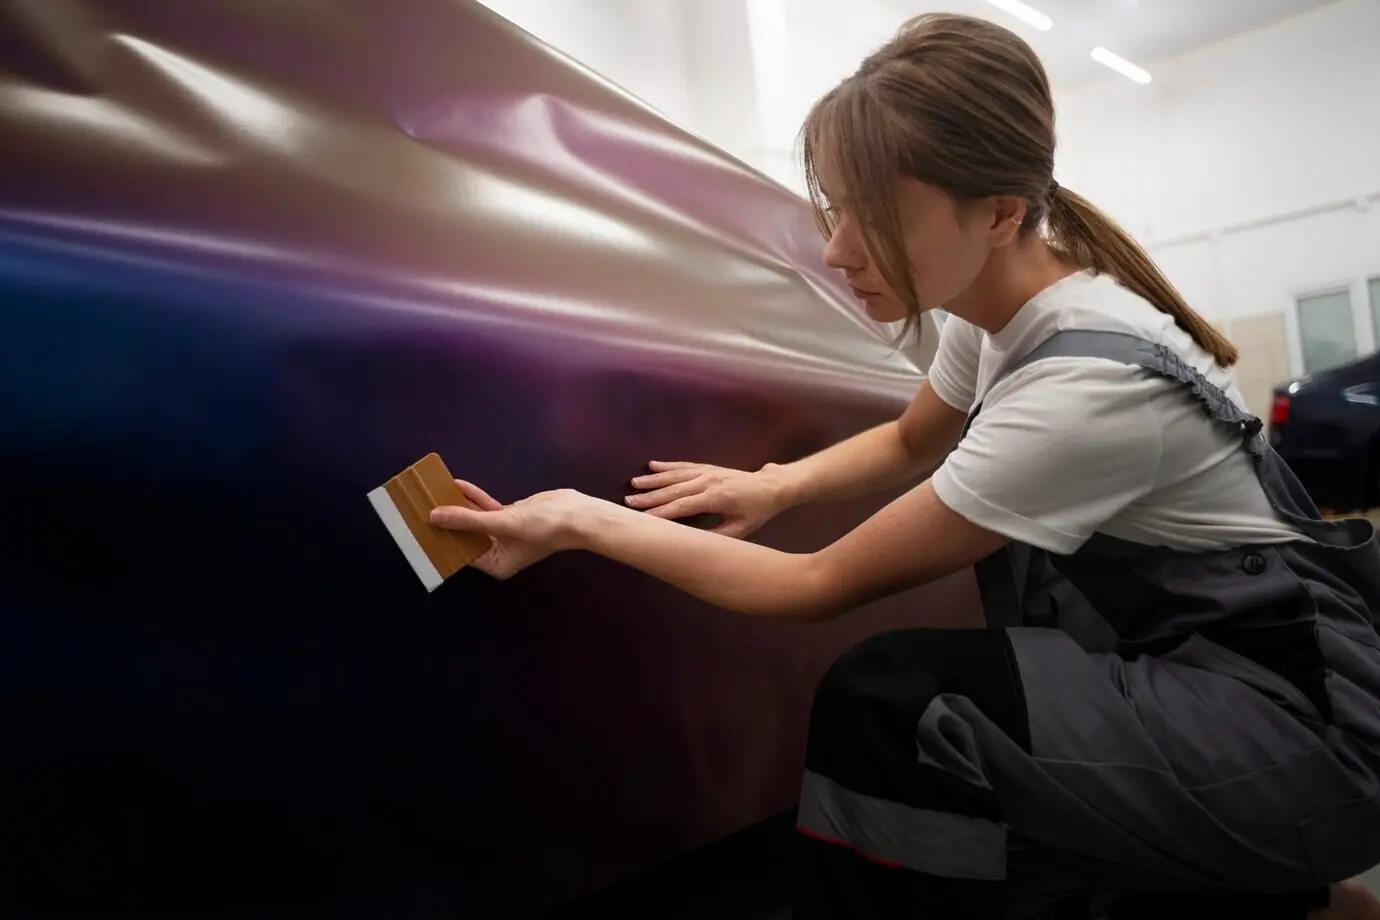
Avoiding Paint Shock and Cracking

Sudden temperature shifts stress coatings. If the panel just came from cold air, allow a gradual rise before any pushing or pulling. Tap-downs on a chilled surface imprint differently, often leaving halos. Slow transitions preserve gloss, reduce compound time, and keep your repair invisible in unforgiving sunlight.

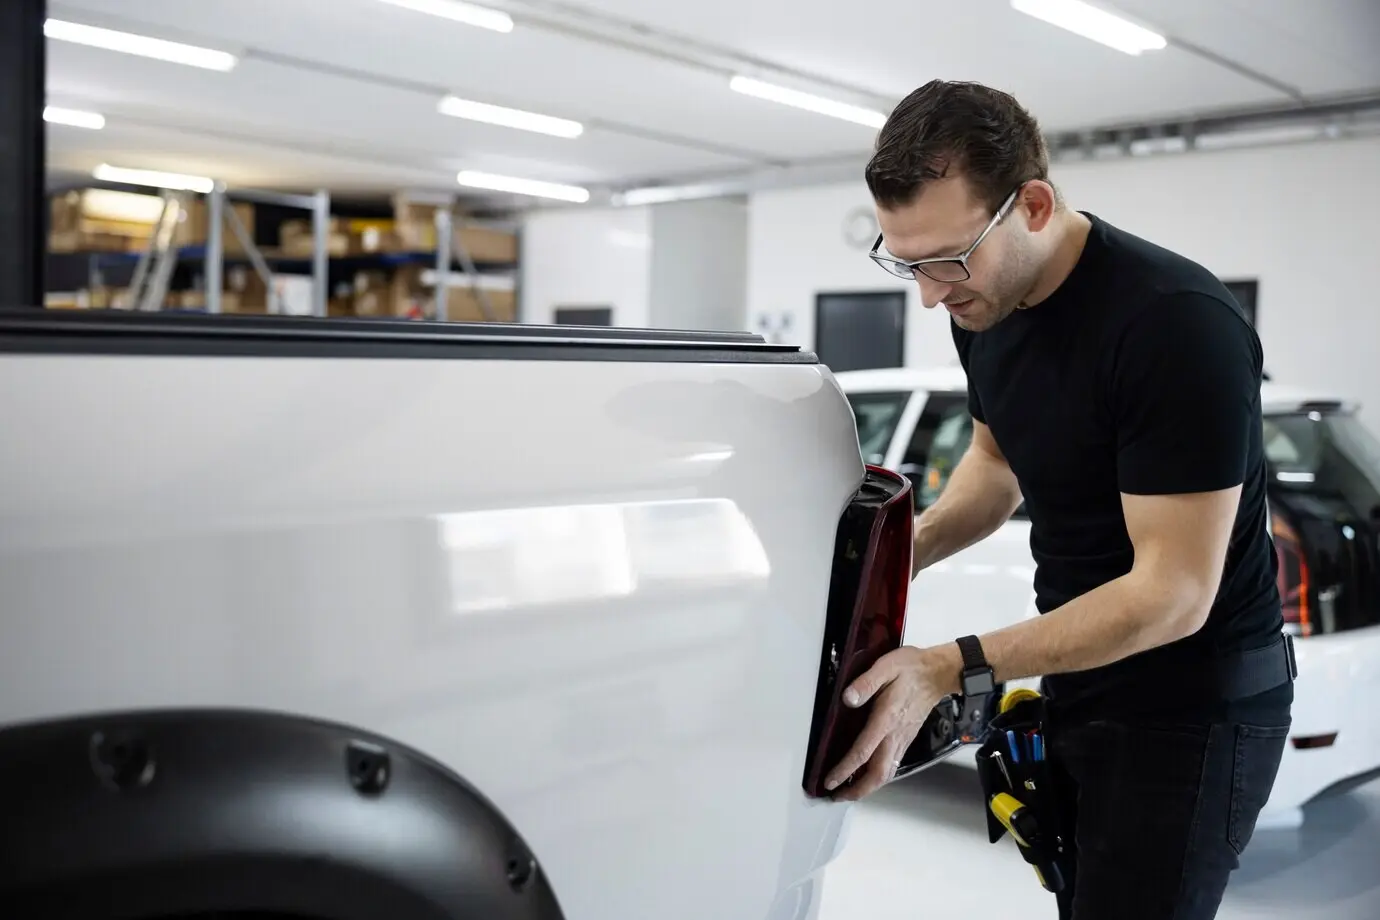
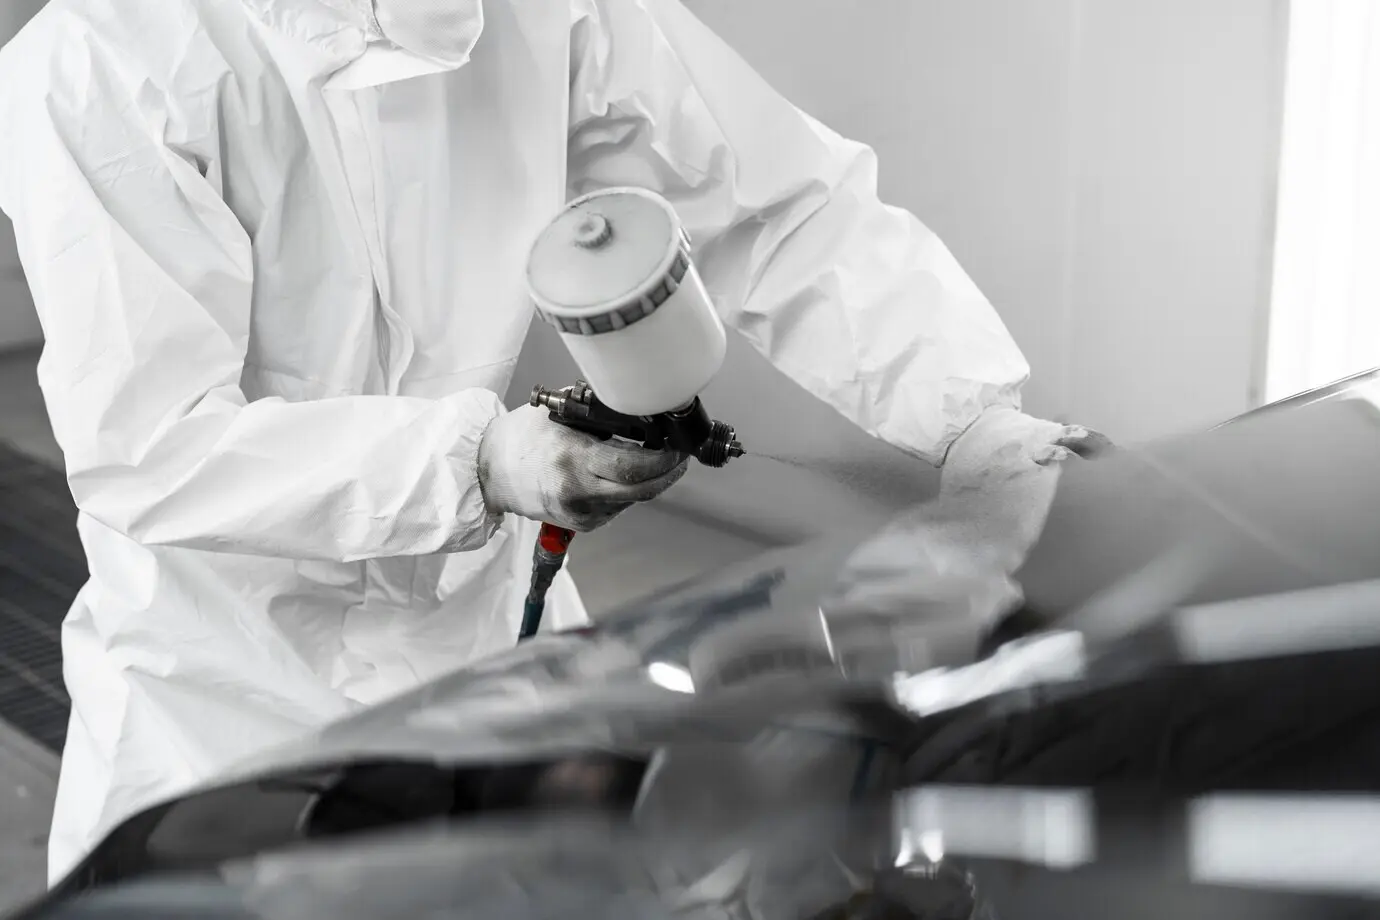
Heat Tools and Safety Habits

Use a quality heat gun with variable control and keep an infrared thermometer handy. Work in passes, always moving. Avoid open flames around trim, sealants, and interior liners. Keep gloves nearby, and document your distances so returning repairs become repeatable rather than risky experiments under pressure.

Finding Clean Paths Behind the Skin

Before removing trim or liners, study factory fasteners and wire routes. Use non-marring wedges and protect holes with tape. A smooth entry avoids new damage and keeps leverage consistent. Photograph each step, label clips, and share your access notes for specific models readers might be struggling with today.

Tip Selection for Predictable Movement

Start soft to spread force and minimize sharp highs. As the dent tightens, graduate to crisper tips, always checking the reflection after each nudge. The right sequence feels unhurried and musical, with rhythm guiding pushes upward while tap-downs calm crowns into obedient, cooperative, confidence-building stillness.

Bracing That Protects, Not Punishes

Stable bracing makes delicate pressure possible while preserving paint. Use padded feet, avoid sharp edges, and keep your elbows locked softly, not rigid. If the metal protests, stop and reassess angles rather than forcing progress. Calm posture plus gentle leverage prevents fatigue, slips, and surprise micro fractures.

Glue Pulling That Actually Holds

Clean with isopropyl alcohol until the towel stays pristine. Lightly scuff glossy contaminants only if safe, then degrease again. Warm the area and the tab together so adhesive wets fully. Consistency beats strength alone, delivering steady lifts instead of violent snaps that punish paint and patience.
Rigid tabs transmit crisp energy, while flexible faces spread force. Blue, yellow, or specialized sticks cure differently by temperature. Test pulls on the perimeter first, then graduate inward. Note what pairs succeed on certain finishes, and comment with your combinations so others can skip frustrating, expensive guesswork.
Apply tension in-line with the dent’s vector, then pause and read the reflection. If it spikes high, release, tap crowns, warm slightly, and reset. Gentle cycles tighten geometry without drama. Count seconds under load, log results, and invite readers to compare cadence styles that consistently avoid post-repair sanding.

Finish Work That Hides in Reflections

True success appears when daylight can’t find your repair. Finish work blends transitions, tames micro-highs, and restores texture so orange peel remains consistent. With thoughtful tap-downs, delicate blending hammers, and meticulous polishing, the panel regains quiet reflections that no passerby questions or second-guesses.

Boundaries, Repairs, and Realistic Wins

Not every dent belongs in the driveway. Sharp creases at edges, stretched metal, or cracked coatings may exceed safe home practice. Knowing limits prevents heartbreak and preserves value. Celebrate modest victories, keep learning, and lean on shared stories that prevent repeating avoidable, confidence-sapping mistakes.
Check for paint fractures, stretched centers, and panel access before committing. If a magnet test or reflection read suggests trouble, pause. Document with photos, consult experienced voices, and decide calmly. Wise triage turns a frustrating weekend into a small success, building skills without gambling finish integrity.
Old hoods teach cheaply. Map dents, test pushes, and track how different metals respond at identical temperatures and tool angles. When repetition makes results boringly consistent, real panels become much kinder. Share your drills and timing routines so newcomers copy safe habits instead of risky improvisations.
Post your before-and-after photos, tool lists, and temperature notes. Ask questions about stubborn areas, and offer feedback on others’ setups. Subscribe for deeper guides, printable checklists, and case studies. Together, we turn careful experiments into reliable wins that make home repairs satisfying, teachable, and proudly repeatable.
Piradariveltofari
Privacy Overview

This website uses cookies so that we can provide you with the best user experience possible. Cookie information is stored in your browser and performs functions such as recognising you when you return to our website and helping our team to understand which sections of the website you find most interesting and useful.