Confident Home Dent Fixes Without the Paint Shop

Today we dive into essential tools and starter kits for home paintless dent repair, sharing practical choices, safe techniques, and confidence‑building wins. You will learn how to read metal, select dependable gear, avoid costly mistakes, and complete small, satisfying repairs that preserve factory paint, save money, and turn anxious first attempts into steady, repeatable results you can be proud of.

Understanding Paintless Dent Repair at Home

Paintless dent repair keeps factory paint intact by gently moving metal from behind or pulling from the front. At home, success depends on thoughtful lighting, light pressure, and patience. We will outline which dents suit beginners, how panels react, and why preparation, cleanliness, and slow, methodical work protect results while reducing risks.

What Can Realistically Be Restored

Start with shallow door dings, hail dots smaller than a coin, and soft dents away from sharp body lines. Deep creases, stretched metal, cracked paint, or edge impacts are advanced. Choosing manageable repairs builds skill, preserves confidence, and prevents chasing distortions that can quickly grow beyond a comfortable first project’s scope and safety margin.

How Metal Moves and Why Patience Wins

Automotive sheet metal carries tension that redistributes with every push or pull. Micro corrections guide lows upward while relaxing surrounding highs. Rushing adds new highs faster than you can control. Counting controlled pushes, resetting lighting, and frequently releasing tension with gentle knockdowns keep movement predictable, producing clean finishes without introducing texture known as undesirable orange peel.

Bare‑Minimum Weekend Setup

Start with a medium‑temp glue gun, reputable PDR glue sticks matched to your climate, a mini lifter, a handful of mixed tabs, 91–99% isopropyl alcohol for release, a soft knockdown with interchangeable tips, microfiber towels, a plastic razor, and a basic reflector board. This lean setup handles many small dings without overwhelming you or your budget.

Balanced Beginner Bundle

Upgrade to include a slide hammer for stubborn pulls, multiple tip shapes, a tap‑down set with plastic and rubber faces, a portable LED or high‑contrast reflector board, denatured alcohol for cooler climates, a heat gun for controlled warming, nitrile gloves, and organizers. This balance improves control, comfort, and speed, without demanding advanced access tools yet.

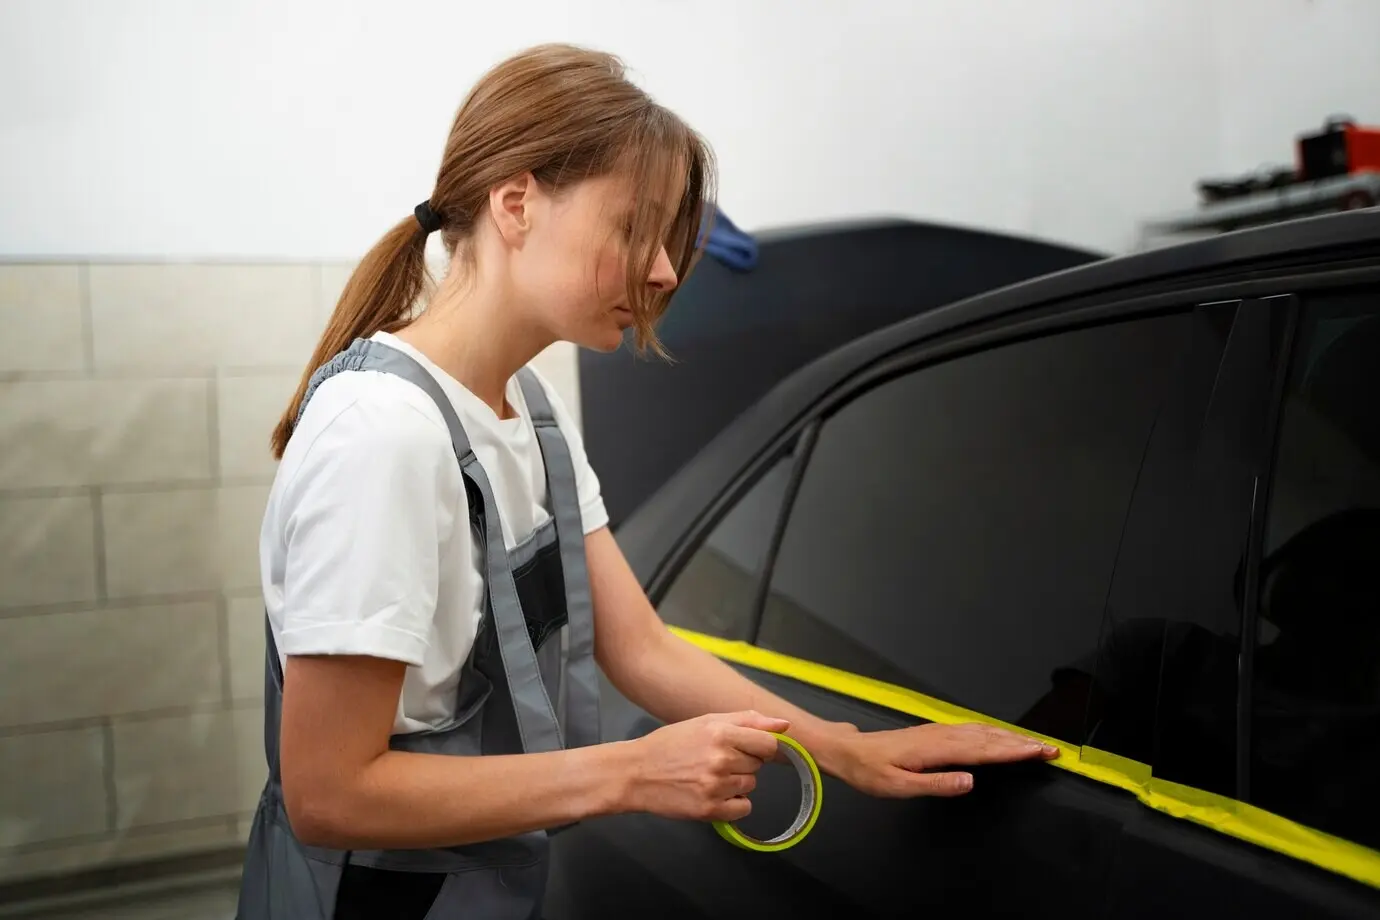
Safety, Cleanup, and Storage

Protective eyewear, soft fender covers, painter’s tape around work zones, and a magnetic parts tray prevent accidental damage and lost pieces. A small caddy for tips, tabs, and alcohol keeps workflows smooth. After pulling, clean residue promptly, label glues for seasons, and store guns upright. Organized habits protect paint, tools, and your patience during longer projects.

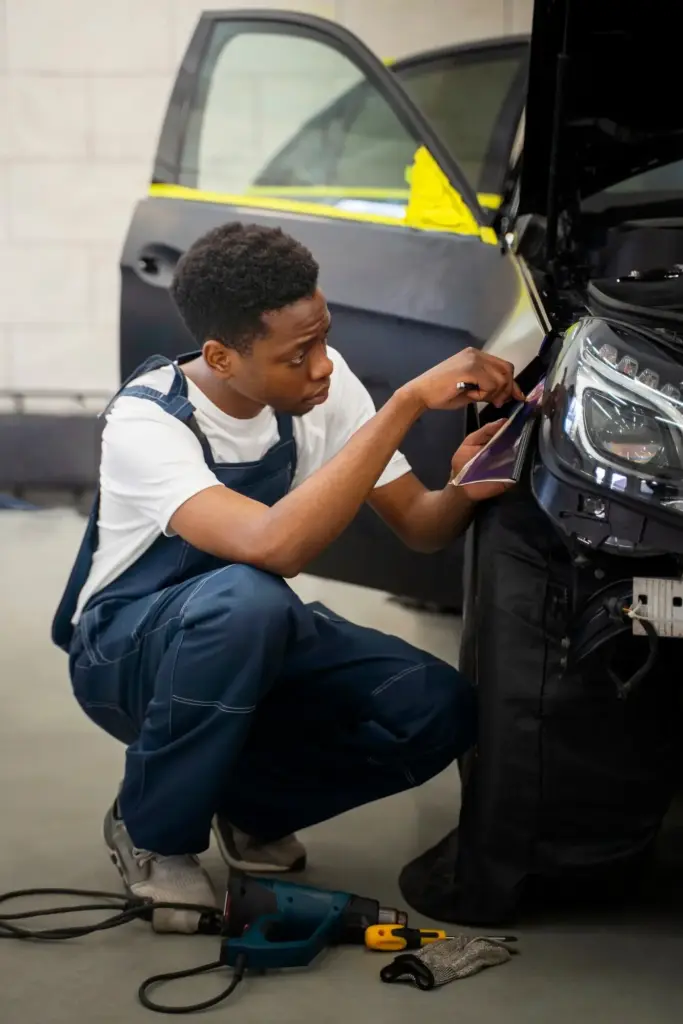
Lighting and Reading the Dent

Good lighting reveals highs and lows like topographic lines. LED lights or reflector boards create stripes that bend across distortions, guiding each push and pull. Even a headlamp helps. Adjust angle, distance, and stripe spacing until the dent’s center and crowns become unmistakable. Clear reading reduces unnecessary force, preserves paint, and improves finish quality dramatically.

LED and Reflector Boards

LED panels produce consistent, bright lines that expose tiny changes in contour. Reflector boards are lighter and portable, perfect for quick setups or tight driveways. Both work if positioned correctly. Practice moving the light instead of your head, and watch how line curvature pinpoints lows and highs with surprising clarity, accelerating precise corrections every single session.

Shadows as Your Map

Shadows indicate where metal needs attention, but they also reveal when to stop. As you lift the low, surrounding highs might appear. The right light angle shows subtle ridges called crowns. Address these gently to unlock tension. When shadows even out and reflections straighten, resist the urge to keep pushing; overworking risks peaks and texture mismatches.

Glue Pulling Essentials

Front‑side pulling empowers beginners because it avoids interior panel access. Success depends on temperature‑matched glue, clean surfaces, tab selection, and controlled lift using a mini lifter or slide hammer. Precise releases with isopropyl alcohol protect paint. Respect working time: set, pull, reassess. Repeat strategically, not frantically, to raise lows while keeping surfaces smooth and calm.

Pushing Tools and Control

When access allows, controlled pushes from behind can finish what glue starts. Select rods with comfortable handles, protective tip caps, and a soft interface to avoid marring paint. Leverage carefully through braces using wedges or window tools. Micro pushes, deliberate rests, and frequent lighting checks guide metal home without building new highs or stubborn crowns.

Knockdowns, Crowns, and Blending

Highs appear as you lift lows. Knocking down gently unlocks trapped tension and invites the surrounding metal to relax toward level. Use soft, clean tips and a light hammer. Short, accurate taps reshape crowns without scarring finish. Blending feathers tiny highs with longer strokes, smoothing reflections so the repair disappears under line boards and real‑world lighting.

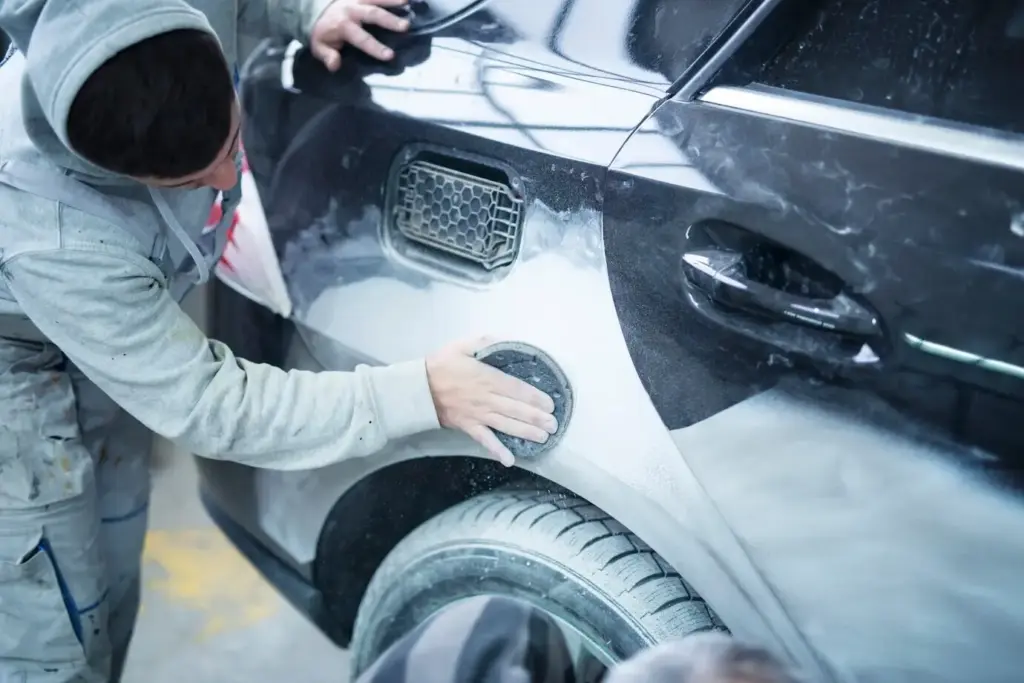
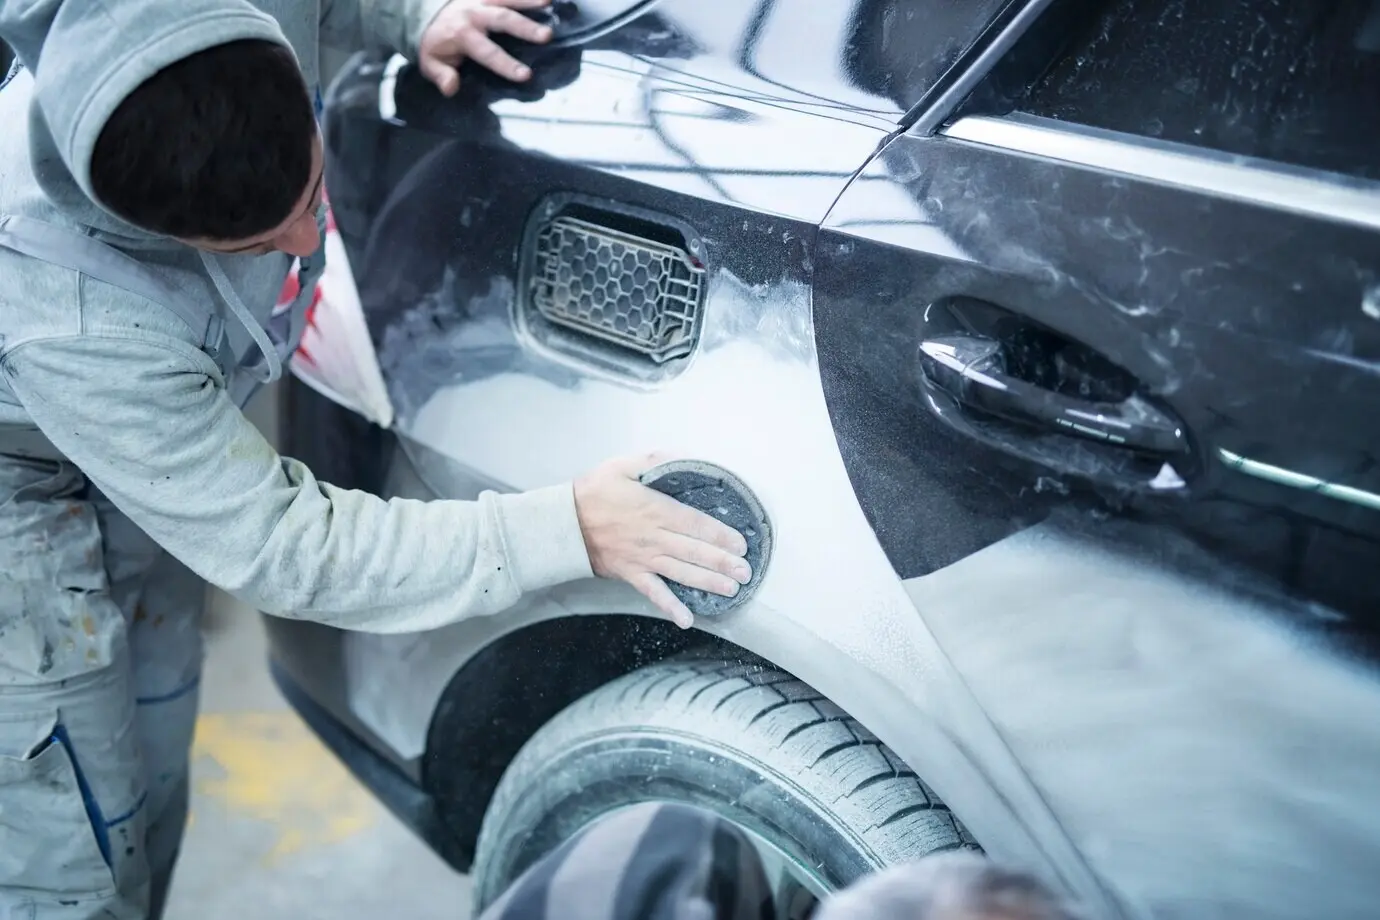
Heat, Materials, and Finishing Touches

Heat helps metal move predictably and protects paint, especially in cooler garages. Aluminum panels rebound differently than steel, demanding lighter pressure and more frequent checks. Plastic bumpers respond best to controlled warmth and gentle shaping. Finish by cleaning residue, lightly polishing, and verifying results under multiple lights, from LEDs to open daylight, before proudly calling it done.

Working With Aluminum Panels

Aluminum work‑hardens faster, so pushes must be smaller and reassessed constantly. Moderate heat encourages cooperative movement without risking clear coat. Glue pulling can be effective with clean surfaces and firm tabs. Expect occasional spring‑back; hold corrections slightly past level, then release gently. Patience, not power, makes aluminum cooperate while keeping reflections beautifully straight and convincing.

Plastic Bumpers and Edges

On plastic, use heat to relax memory, then massage from the back while monitoring reflections. Avoid overheated, glossy spots that signal damage. Creases near edges require extra care; support from behind to prevent stretching. After shaping, cool gradually so the panel retains new form. Finish with polish to unify sheen, disguising minor texture variation acceptably.

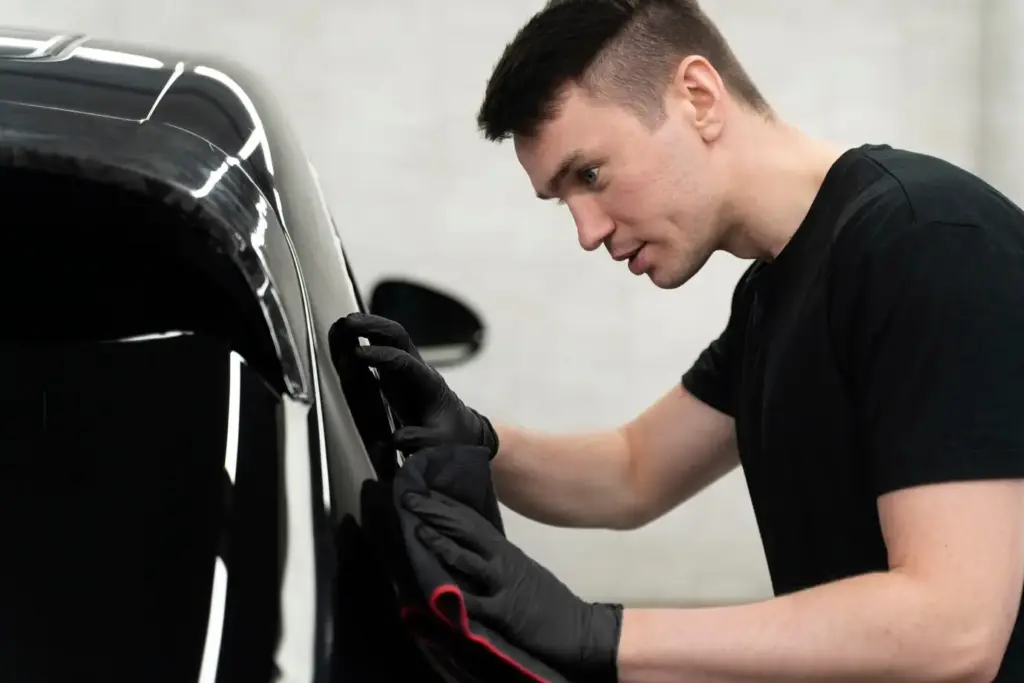
Final Inspection and Shine

Remove glue residue completely, wipe with alcohol, and inspect under different lights and angles. Roll the car outside, then into shade, checking lines and clouds in reflections. A light finishing polish blends micro haze. Photograph results for learning. These habits confirm true flatness, capture progress, and build a personal reference library that speeds future decisions.

Common Mistakes, Fixes, and When to Stop

Beginners often overpull, chase tiny highs aggressively, or ignore crowns until they harden. Others skip lighting checks or push too large an area at once. We will outline calm recoveries and clear stop signals protecting paint, time, and morale—so every attempt ends safer, smarter, and closer to a confident, repeatable home workflow.

Recovering From Overpull

If the low jumps high, pause. Reposition lighting, identify surrounding crowns, and tap them gently to relax stress. Blend the peak minimally, then retry a smaller tab or softer tip. Work in smaller zones, slow your tempo, and verify after each correction. Overpull recovery builds control and teaches restraint that pays dividends on every following repair.

Creases Versus Hail Dings

Creases stretch metal along a line; they demand smaller tabs, precise pulls, and more knocking down. Hail dings are compact and respond quickly to lifter control. If a crease resists, heat mildly and proceed in segments rather than one big yank. Recognizing the difference prevents frustration, preserves paint, and yields steady progress on challenging shapes.

Knowing When to Call a Pro

Stop if paint shows cracks, metal feels oil‑canned, or panels hide double walls blocking access. Advanced damage near body lines escalates risk quickly. Consulting a professional can save clear coat and money. Use the experience to refine your judgment, then return to manageable projects where skills compound safely, steadily, and enjoyably with every session.

Your First At‑Home Win and Our Community

Choose a simple dent, follow a clear plan, and celebrate progress, not perfection. Share photos, questions, and lessons learned with fellow readers. Subscribe for practical tool tests, seasonal glue comparisons, and beginner‑friendly workflows that respect paint and budgets. Together we improve faster, avoid avoidable mistakes, and turn nervous starts into reliable, satisfying garage victories.
Piradariveltofari
Privacy Overview

This website uses cookies so that we can provide you with the best user experience possible. Cookie information is stored in your browser and performs functions such as recognising you when you return to our website and helping our team to understand which sections of the website you find most interesting and useful.